01-07-2018, 04:05 PM
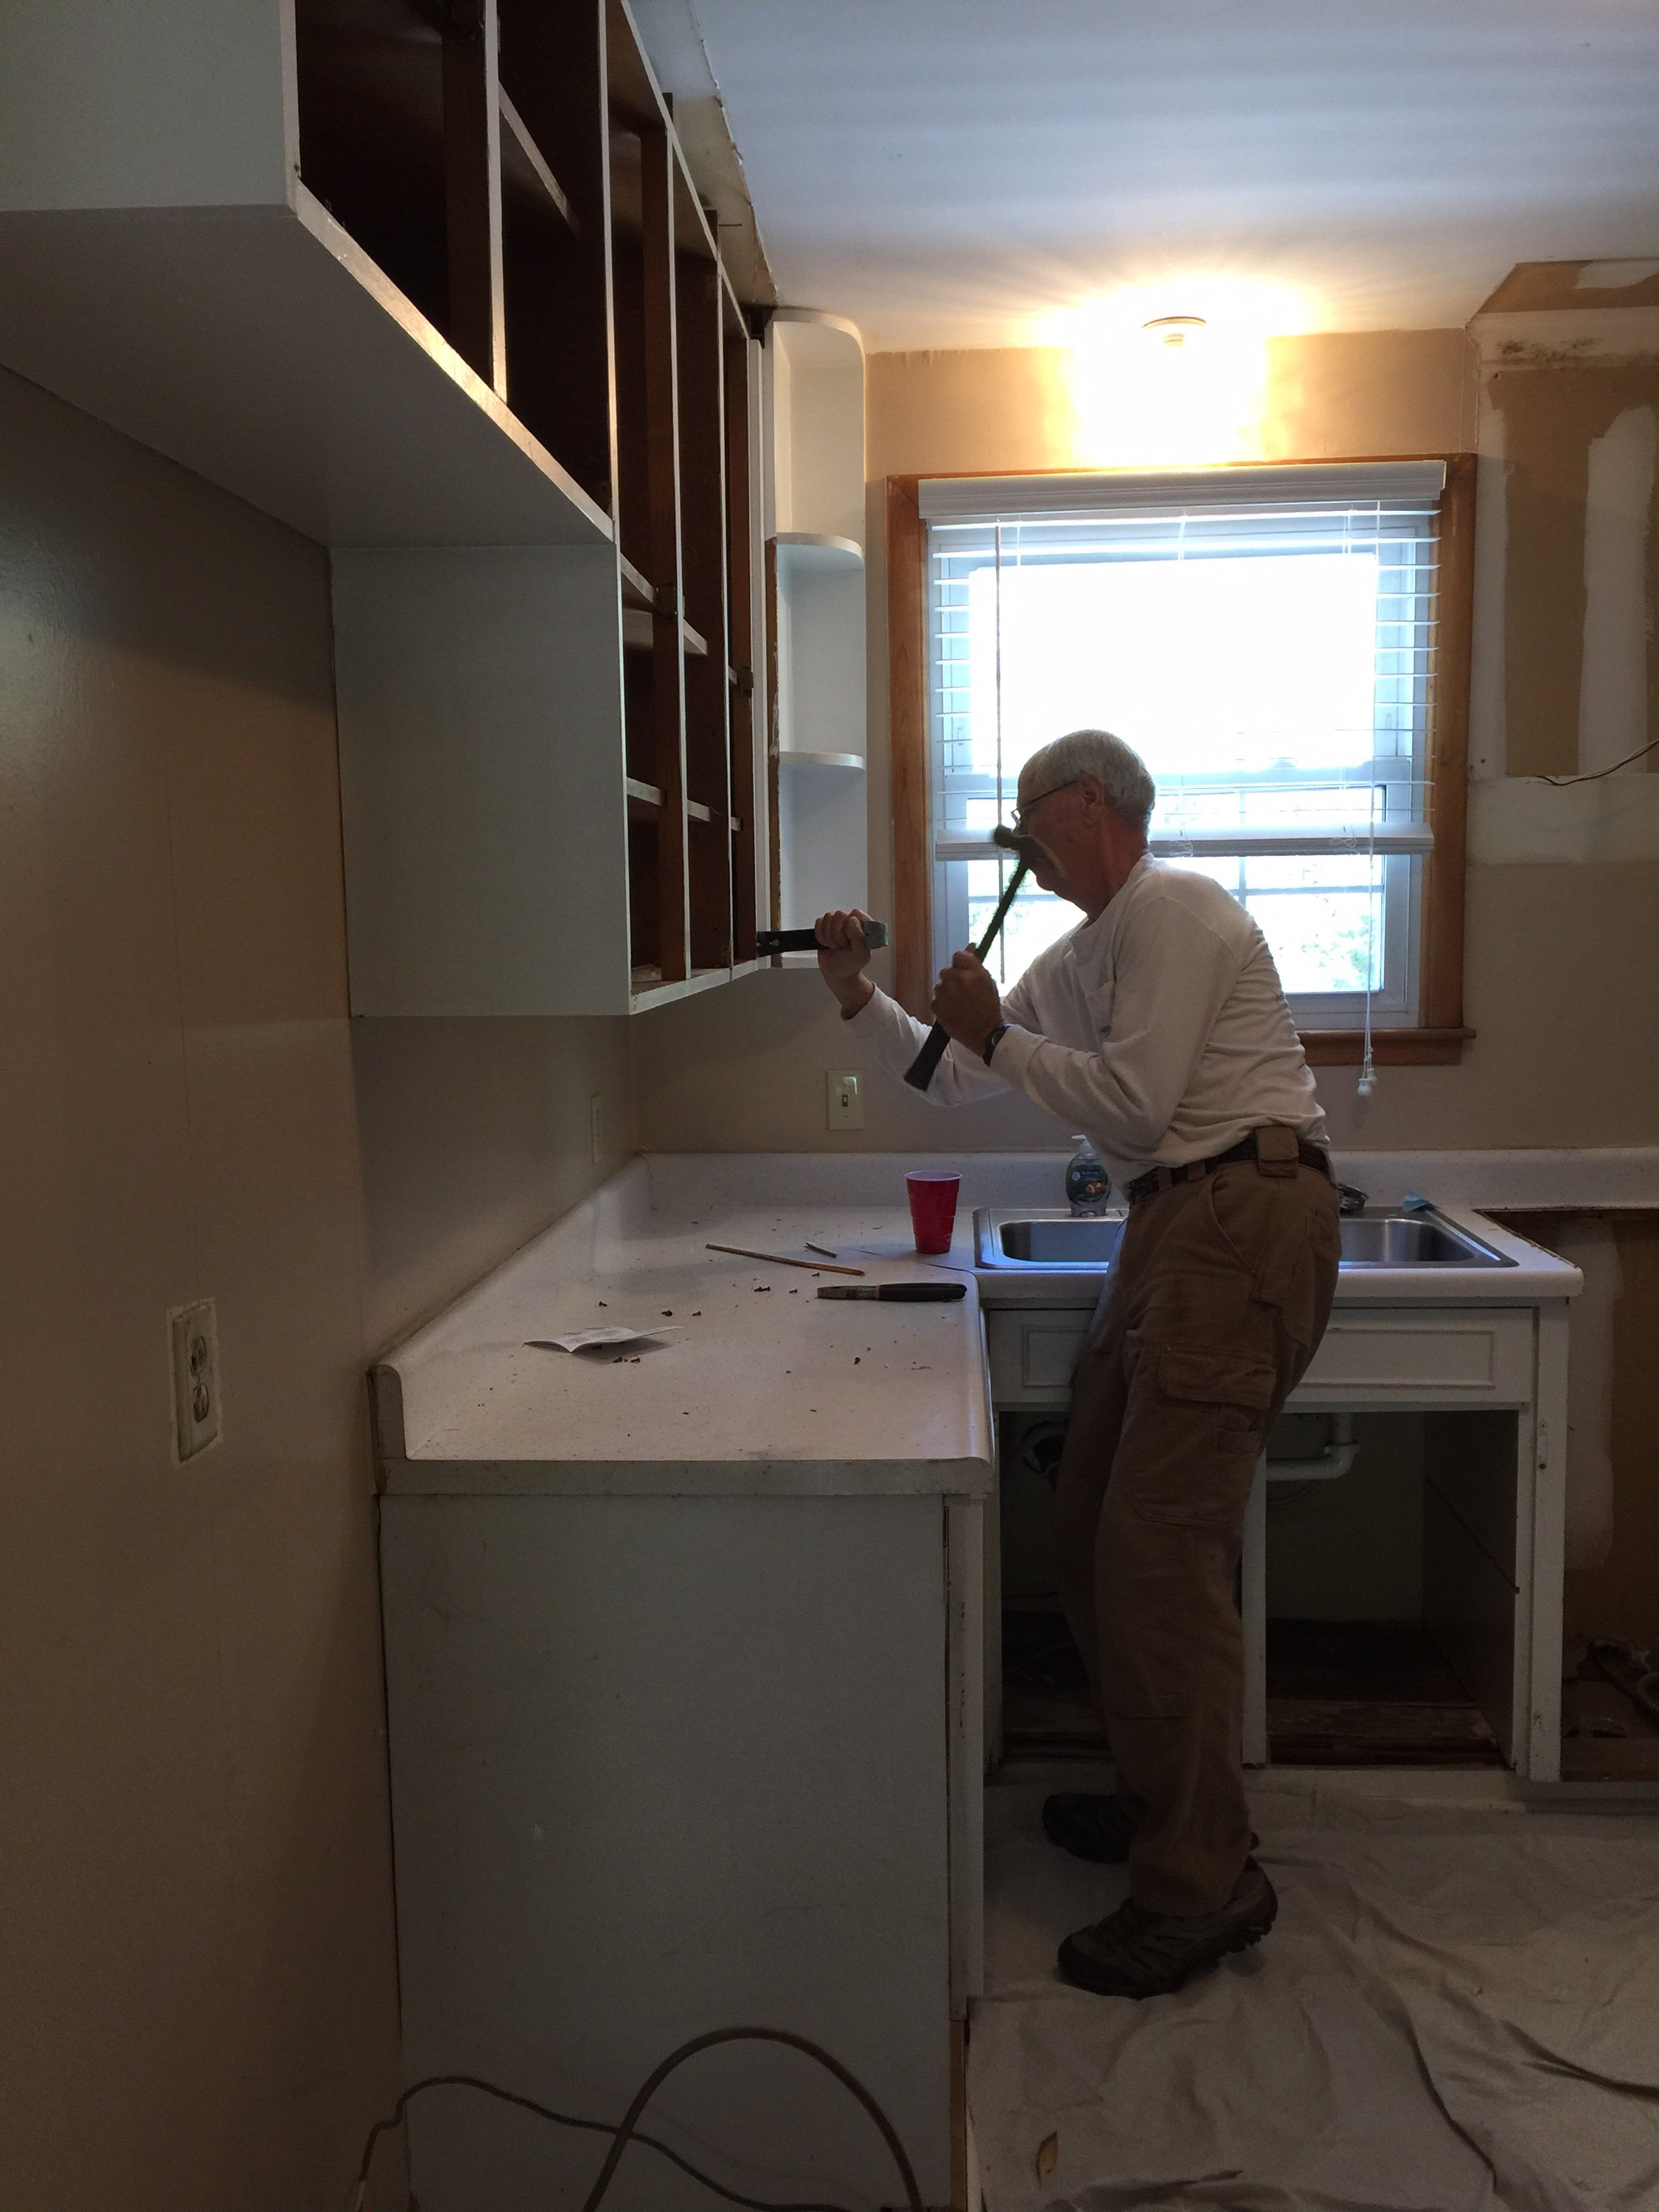
This is not meant as "the" or even "a" way to renovate a 50 y/o kitchen. I originally only intended to replace the old cabinets with new ones and new appliances. The house was built in 1967 and I bought it from the original owner. She was moving into an assisted living facility. It will be my daughter's house when I'm finished.
After removing the cabinets, the subfloor under the sink was nearly gone. From leaks over the years I'm sure. There were several layers of linoleum that you can see I had to cut through. I used a circular saw set at 7/8" to cut through the linoleum and remaining subfloor. Then I put new 1/2" plywood and 1/4" hardi-backer down before tiling with 12" square tiles.
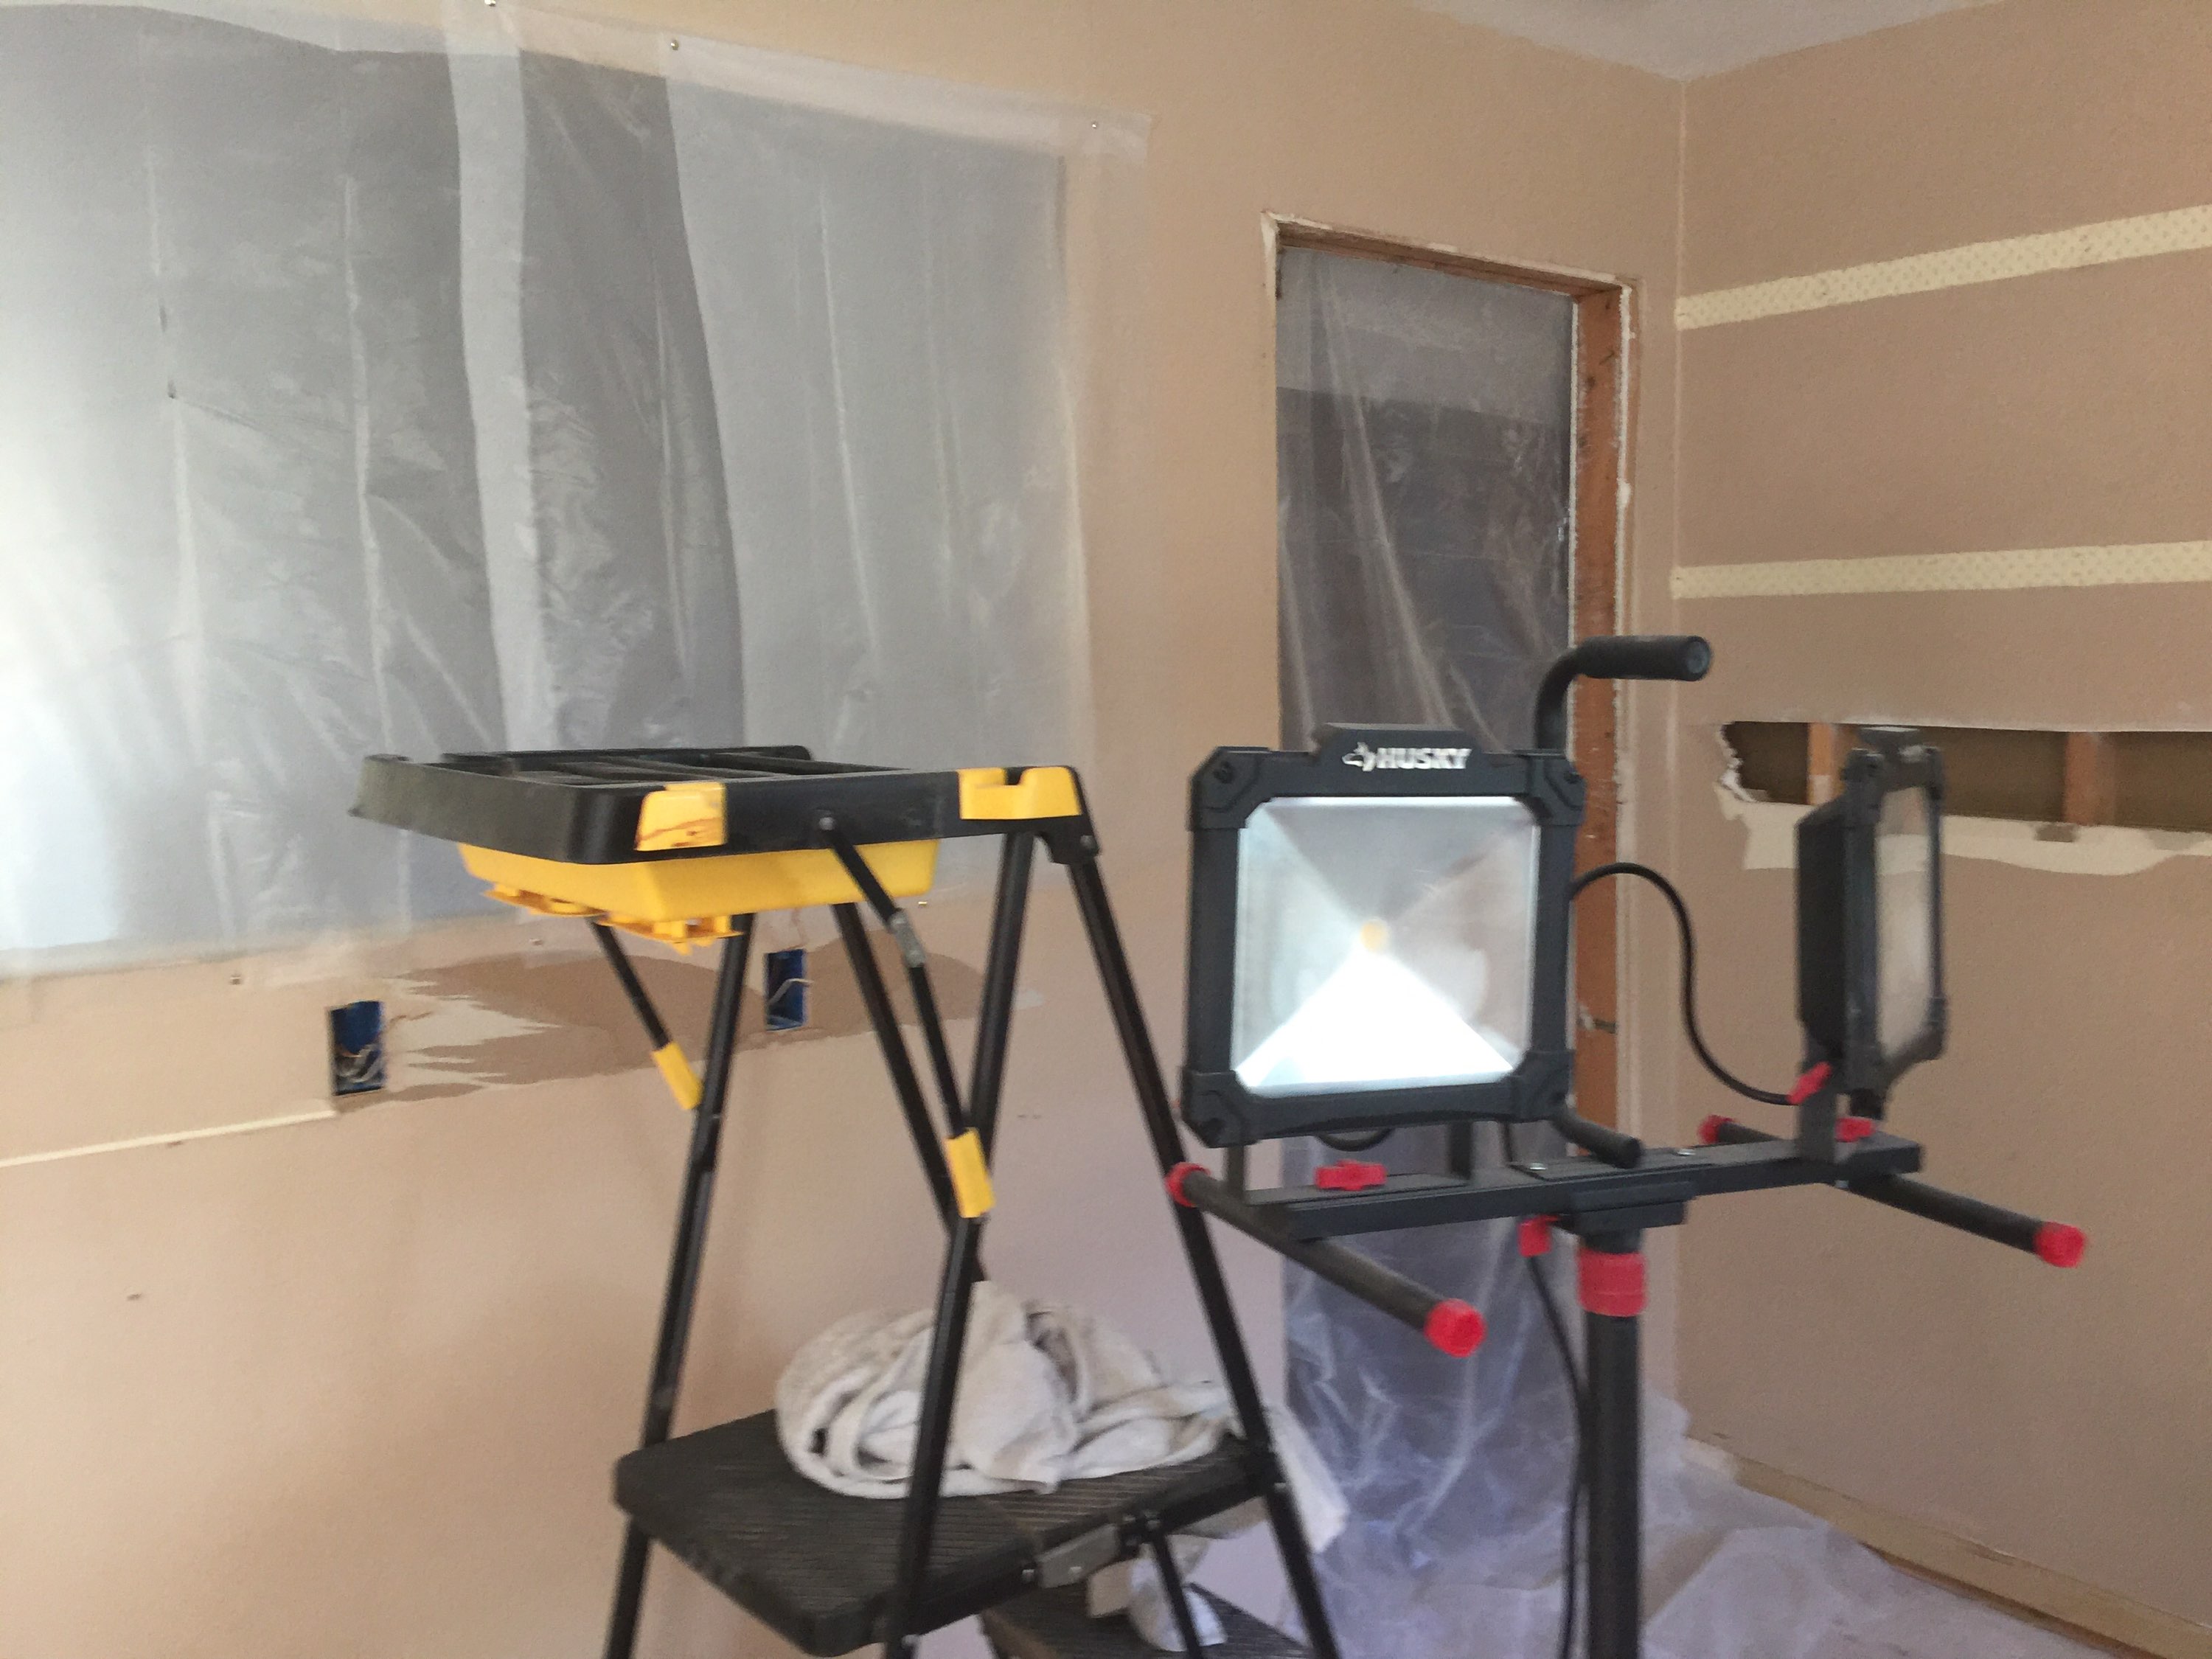
Then the electrical was in terrible shape. Only one circuit for the refrigerator, dish washer and range hood. No GFCI at all. The good thing is all the plug circuits were 20 amp. So I took a circuit from the living room and created a GFCI run with 4 duplex plugs along the center wall. I took the original circuit and made it GFCI and it went to the dishwasher and 2 other duplex plugs on the outside range/sink wall. I borrowed a plug circuit from a bedroom behind the refrigerator wall for the refrigerator.
The lighting was near useless. There was one light over the sink and one in the center of the kitchen. I replaced the center one with 4 can LED lights which can be seen in one of the last pictures.
I made the cabinets out of 3/4" white melamine (she wants all white cabs). The face frames are poplar. The drawers and cab doors are still in the process of being put together (all pieces cut to size).


To be continued. . . Joel
After removing the cabinets, the subfloor under the sink was nearly gone. From leaks over the years I'm sure. There were several layers of linoleum that you can see I had to cut through. I used a circular saw set at 7/8" to cut through the linoleum and remaining subfloor. Then I put new 1/2" plywood and 1/4" hardi-backer down before tiling with 12" square tiles.
Then the electrical was in terrible shape. Only one circuit for the refrigerator, dish washer and range hood. No GFCI at all. The good thing is all the plug circuits were 20 amp. So I took a circuit from the living room and created a GFCI run with 4 duplex plugs along the center wall. I took the original circuit and made it GFCI and it went to the dishwasher and 2 other duplex plugs on the outside range/sink wall. I borrowed a plug circuit from a bedroom behind the refrigerator wall for the refrigerator.
The lighting was near useless. There was one light over the sink and one in the center of the kitchen. I replaced the center one with 4 can LED lights which can be seen in one of the last pictures.
I made the cabinets out of 3/4" white melamine (she wants all white cabs). The face frames are poplar. The drawers and cab doors are still in the process of being put together (all pieces cut to size).


To be continued. . . Joel
USN (Corpsman) 1968-1972
USAF Retired Aug 31, 1994
Santa Rosa County, Fl Retired Jun 1, 2012
Now just a hobbiest enjoying woodworking!
USAF Retired Aug 31, 1994
Santa Rosa County, Fl Retired Jun 1, 2012
Now just a hobbiest enjoying woodworking!


