Watched these FWW videos by Michael Cullen and liked his approach so decided to take a stab at something I'd never done. I like the look of the box he makes in video #6 & 7 so dug in. I'm no carver and with arthritis making it's way thru my hands decided to skip the carving and go for my personal favorite, Bush Oil. BTW, I think these videos are available to watch without a subscription.
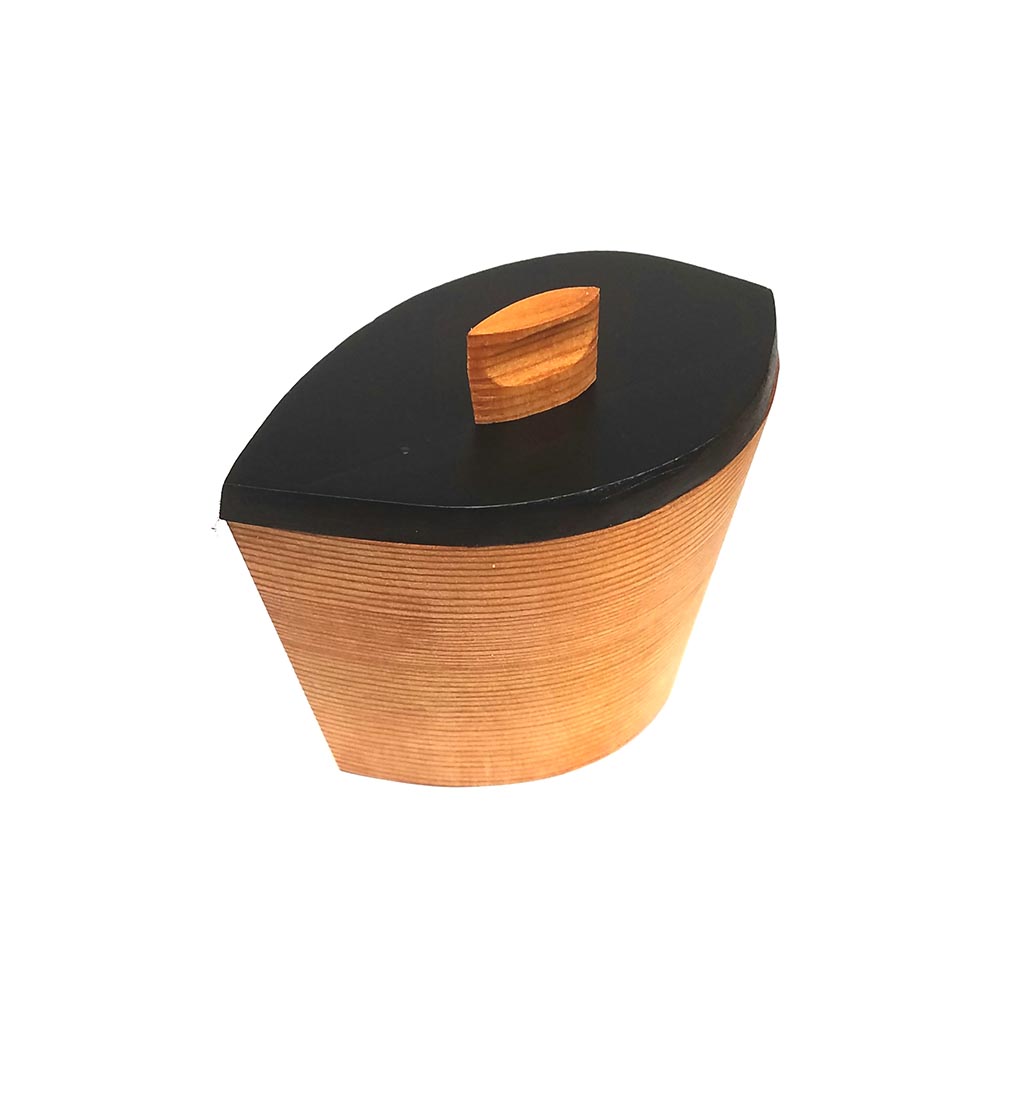
I had a perfectly QS cedar 4x4 for my first victim. I do love QS grain so decided to cut off one side to make the top. That was my first mistake. As I went thru the process I got to the point of fitting the top and realized that from the side the top looked like it came from a different piece of lumber. Grrrrrrrr.


I should have cut the top from the actual top of the piece, then it would have looked like it belonged with the box. Bugged me so much I got out a rattle can of black and painted the %%$#@@ thing.


My next victim was a chunk of douglas fir 4x4. This one faired better but still has it's issues. To start with I was cutting on a 1/2 hp band saw which made for pretty slow going in the harder wood, even with a 4 tpi blade. Michael recommends 6 tpi which I'm sure would give a much smoother finish. He doesn't appear to sand the inside of his boxes, the ones I make sure need sanding.
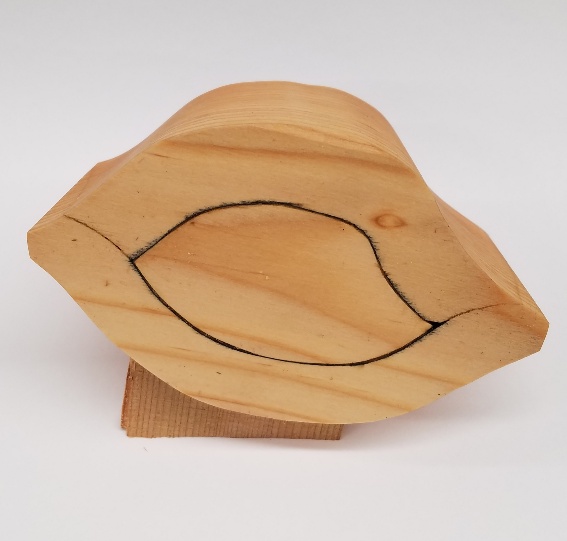
Making these is sort of counter intuitive as you cut out the inside first. I didn't leave enough material on the outside so ended up with flat straight ends instead of a vertical taper like the sides of the box. Also, I decided to paint the insides of the box black to disguise some poor cuts. Unfortunately I painted all the way down the sides before gluing in the bottom so ended up with a fugly paint bleed line. Another Grrrrrr.


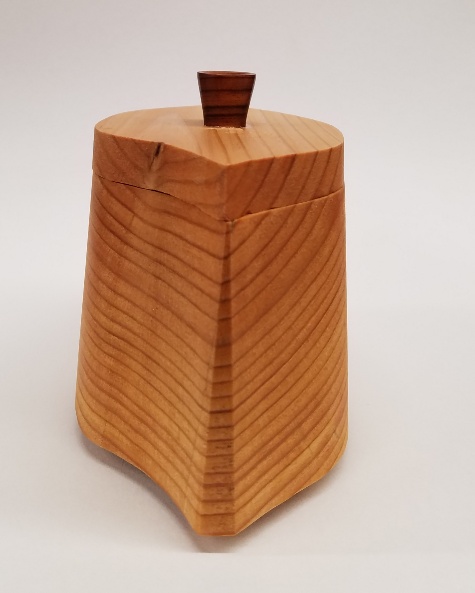
Here's the end showing the sides do taper bottom to top.


In order to a) hide the paint bleed and b) raise the bottom to add a shadow line and c) disguise a sanding round over I added a piece of black self adhesive plastic padding to the bottom. This shows the inside of the top painted as well.


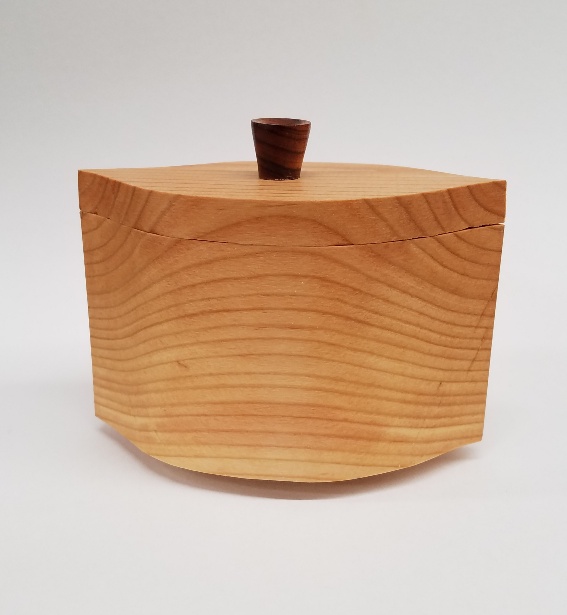
Here's a couple more photos. The knob is kingwood, first time I've ever used it in any way. It is wicked hard but turned well and took a great finish with Behelen's friction polish.


These are fun to build, starting another tomorrow. Thanks for looking,
g
I had a perfectly QS cedar 4x4 for my first victim. I do love QS grain so decided to cut off one side to make the top. That was my first mistake. As I went thru the process I got to the point of fitting the top and realized that from the side the top looked like it came from a different piece of lumber. Grrrrrrrr.

I should have cut the top from the actual top of the piece, then it would have looked like it belonged with the box. Bugged me so much I got out a rattle can of black and painted the %%$#@@ thing.

My next victim was a chunk of douglas fir 4x4. This one faired better but still has it's issues. To start with I was cutting on a 1/2 hp band saw which made for pretty slow going in the harder wood, even with a 4 tpi blade. Michael recommends 6 tpi which I'm sure would give a much smoother finish. He doesn't appear to sand the inside of his boxes, the ones I make sure need sanding.
Making these is sort of counter intuitive as you cut out the inside first. I didn't leave enough material on the outside so ended up with flat straight ends instead of a vertical taper like the sides of the box. Also, I decided to paint the insides of the box black to disguise some poor cuts. Unfortunately I painted all the way down the sides before gluing in the bottom so ended up with a fugly paint bleed line. Another Grrrrrr.

Here's the end showing the sides do taper bottom to top.

In order to a) hide the paint bleed and b) raise the bottom to add a shadow line and c) disguise a sanding round over I added a piece of black self adhesive plastic padding to the bottom. This shows the inside of the top painted as well.

Here's a couple more photos. The knob is kingwood, first time I've ever used it in any way. It is wicked hard but turned well and took a great finish with Behelen's friction polish.


These are fun to build, starting another tomorrow. Thanks for looking,
g
I've only had one...in dog beers.
"You can see the stars and still not see the light"
The Eagles: Already Gone
"You can see the stars and still not see the light"
The Eagles: Already Gone


